
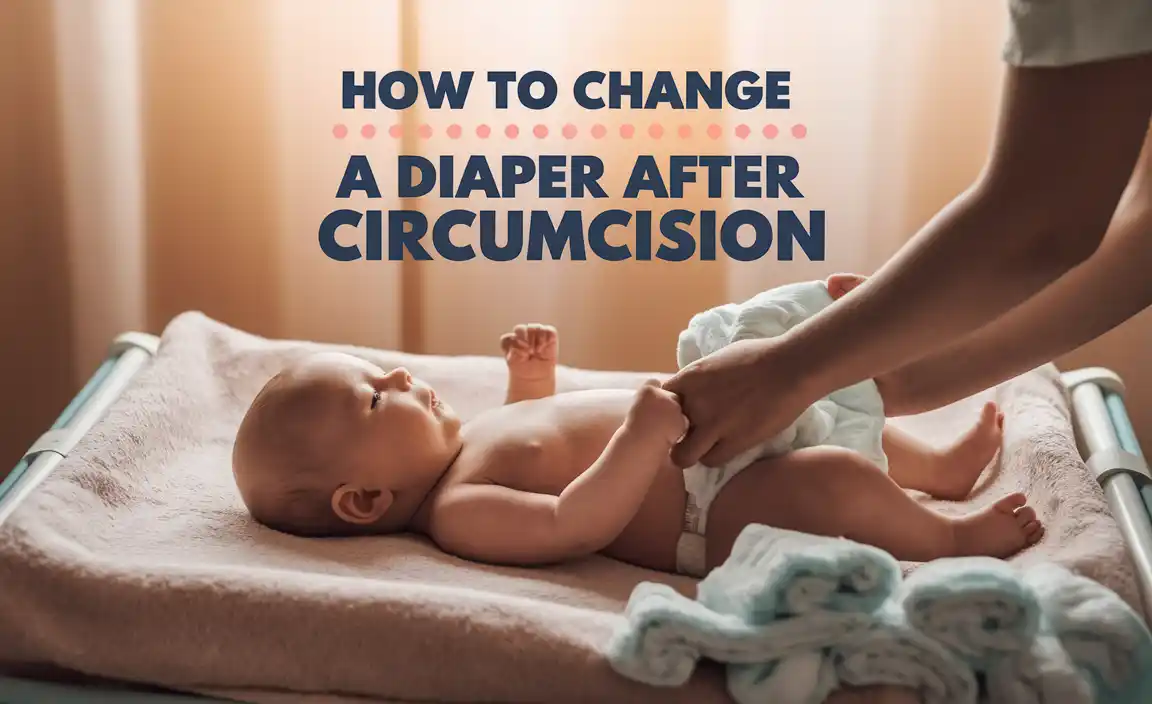
Diaper changes after circumcision are often more involved than following other types of newborn procedures, as the infant may be wiggly and active.
Changing diapers will be one of the most frequent tasks you will perform. However, if your baby has just undergone a circumcision, this task can be daunting. It is important to know how to care for your baby’s circumcision area to prevent irritation, infection, or injury.
We will guide you with 10 fool-proof ways to change your baby’s diaper after circumcision. From understanding the changes in a child’s anatomy post-circumcision, preparing the baby for the circumcision, cleaning and caring for the circumcision area, to finally changing the diaper, we have got you covered.
We have also listed some important things to remember while changing the diaper to ensure a quick, painless, and safe transition.
10 Ways About How To Change A Diaper After Circumcision
Changing a diaper after circumcision can be an intimidating experience for new parents. However, you can do it quickly and easily with the right technique. A diaper after circumcision is a crucial step in the healing process.
It helps to prevent infection and helps to keep the area clean and dry. A diaper is often used for several days after circumcision, as it helps to keep the wound area clean and dry until it heals.
You should use a thicker diaper or one with adhesive tabs to stick to the wound area. The diaper should not be too tight or loose, which can lead to wound irritation. You can also use a cotton ball or gauze pad to clean the diaper area gently.
Changing a diaper after circumcision can be daunting for new parents, but it doesn’t have to be. These 10 easy ways ensure your baby’s diaper is always fresh, clean, and comfortable.
1. A Child’s Anatomy After Circumcision
After circumcision, a child’s anatomy remains intact and functioning as it should. The foreskin, which covers the glans of the male organ (the head), is still intact. You can retract this and manually clean once daily with warm water and soap.
The urinary opening (also known as the urinary meatus) at the tip of the penis is still open and functioning properly. The medical term for this anatomical structure is called the meatus. It is a tube-like canal that connects the urethra to the outside of the body.
If it has been cut, you will see a bandage or tape over this area after circumcision. This helps to keep bacteria out of the area and prevent infection. A circumcised infant’s body will heal quickly, but mild discomfort may occur while it heals.
Your pediatrician or healthcare provider can give you more information about how to care for your child’s new healthy look after circumcision.
2. Preparing The Child For The Circumcision
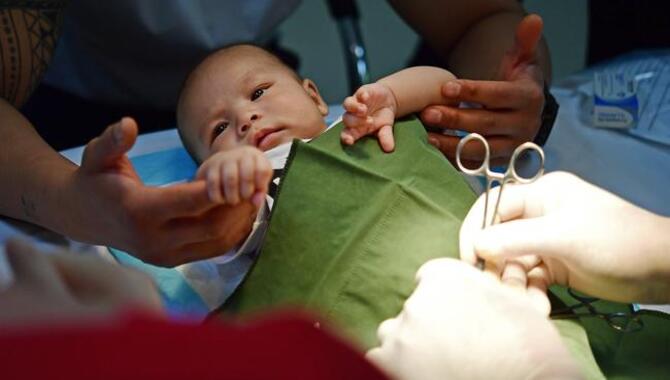
You can do a few things to prepare your child for circumcision. First, make sure they have plenty of clean diapers and wipes. Go over the method of cleaning their diaper with them. Having baby toys or books they can play with during the procedure is also a good idea.
Your child should feel comfortable and at ease in their skin during the circumcision. If your child is old enough, tell them what will happen during the circumcision. They may be scared or apprehensive about it, but keeping them calm is important.
If they’re still too young, consider using a non-medical method such as a Gomco or Mogen clamp. This can help reduce any pain or anxiety they may experience during the procedure.
3. Cleaning And Caring For The Circumcision Area

Cleaning and caring for the circumcision area is essential to maintain a healthy circumcision site; cleaning the circumcision site helps prevent infections. Including balanitis, odontomas (tissues that grow into the penis), and penile cancer.
Caring for the circumcision site involves washing it with mild soap and water several times daily. Contact your doctor or healthcare provider immediately if you notice any redness, irritation, or drainage. Regularly cleaning and caring for your circumcision site will help prevent these complications.
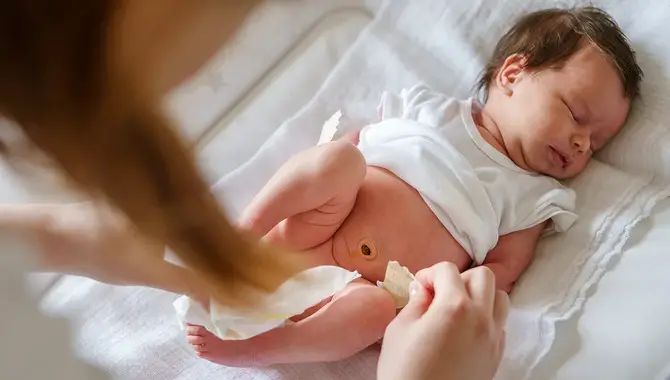
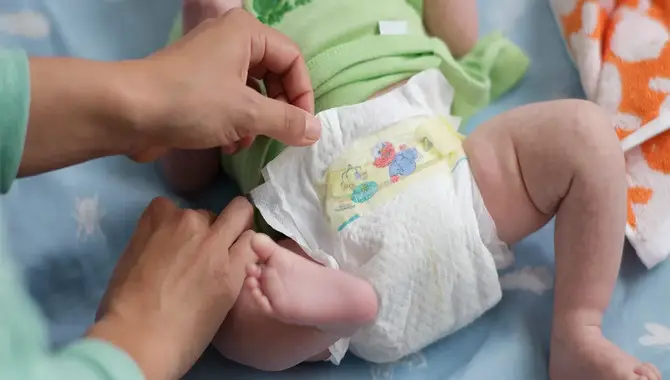
4. Changing The Baby’s Diaper Post-Circumcision
Changing a baby’s diaper after circumcision can seem daunting, but with a few tips, parents can make the process less stressful for themselves and their little ones. Here are 10 ways to change a diaper after circumcision.
During each change, apply a thin layer of petroleum jelly or antibiotic cream to the tip of the penis to prevent the diaper from sticking to the wound. If you used a clamp during the circumcision, cover the wound with Vaseline-soaked gauze until the scab heals.
Consider double-diapering or using an extra-absorbent diaper to provide extra padding for the circumcision site. You can also use an ice pack between the two diaper layers to help reduce swelling and discomfort.
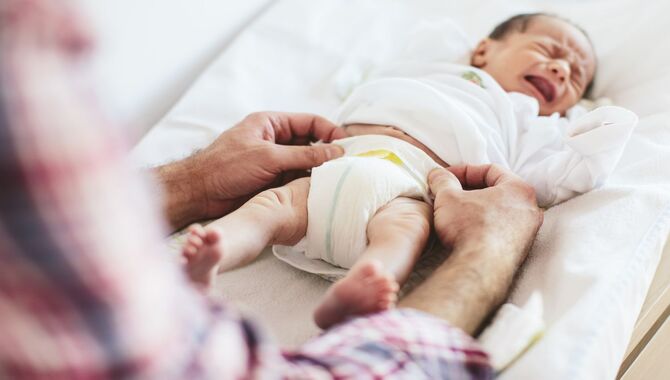
5. Diaper Changing After Circumcision

After circumcision, it is important to take extra care when changing your baby’s diaper. The wound can be sensitive and easily irritated, so here are some tips to make the process smoother. Firstly, always wash your hands before changing your baby’s diaper to avoid introducing bacteria.
Next, gently clean the area with warm water and mild soap, careful not to rub too hard. Apply a thin layer of petroleum jelly or antibiotic cream to the tip of the penis each time to prevent the diaper from sticking to the wound.
Finally, consider using an extra-absorbent diaper or double-diapering for added protection and comfort. With these simple steps, you can help your baby’s circumcision site heal quickly and comfortably.
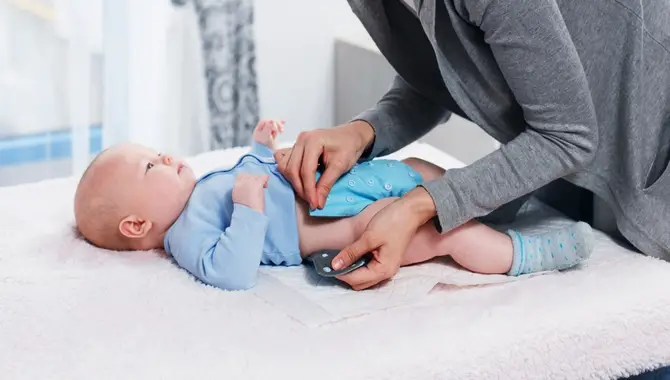
6. Preparation For Diaper Changing
Preparing for a diaper change is important in ensuring your baby’s comfort and hygiene. Have everything you need within arm’s reach, including diapers, wipes, and any ointments or creams recommended by your doctor. Before the change, wash your hands thoroughly with soap and warm water.
When placing the new diaper, be sure it is snug but not too tight, and avoid covering the circumcision site with the diaper’s adhesive tabs. Following these steps can make diaper changes a smooth and stress-free experience.
7. Wiping The Baby Down
Being gentle yet thorough when wiping your baby down during a diaper change is important. Use baby wipes or warm water with a soft cloth, and wipe from front to back to avoid introducing bacteria to sensitive areas. Don’t rub too hard, as this can cause irritation and discomfort.
Once you have finished wiping, pat the area dry with a clean cloth or towel before applying any necessary creams or ointments. These simple steps help keep your baby clean and comfortable during diaper changes.
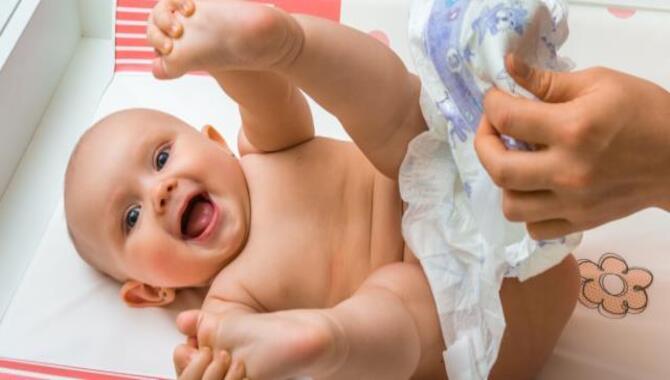
8. Putting On The Diaper
Putting on a diaper after circumcision requires a bit of extra care. Begin by sliding the diaper under your baby’s bottom, making sure the penis is pointing downwards. Bring the front of the diaper up and secure it snugly without placing any pressure on the circumcision site.
If your doctor recommends, apply a thin layer of petroleum jelly or antibiotic cream to the tip of the penis before fastening the diaper. Remember to avoid the tabs covering the site to avoid any discomfort.
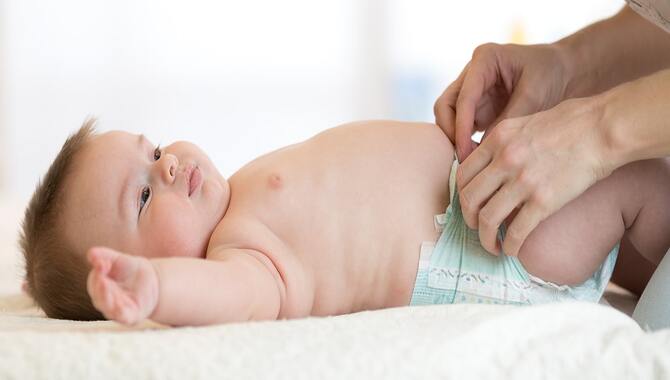
9. Checking The Diaper Fit
After putting on the diaper, it’s important to check the fit to ensure it is snug but not too tight. A well-fitting diaper should have enough room for your baby to move comfortably but not so loose that leaks occur.
Check the diaper frequently, especially after feedings or long naps, and change it as soon as it becomes soiled. By keeping a close eye on the fit and cleanliness of your baby’s diaper, you can help to prevent irritation and infection at the circumcision site.
10. Changing The Diaper
Changing a diaper after circumcision can be a delicate process. Here are 10 ways to ensure that you change the diaper correctly without causing discomfort to your baby. Firstly, it’s important to clean your hands before and after changing the diaper to prevent the spread of bacteria.
Wash the penis with warm water after each diaper change and pat it dry. Applying a thin layer of petroleum jelly (such as Vaseline) on the circumcision area during each diaper change can also help to prevent irritation and promote healing.
When fastening the diaper, do so loosely to reduce pressure on the penis. Additionally, avoiding using baby wipes or soap is important until the circumcision has fully healed. Following these steps can help make the diaper-changing process a comfortable and hassle-free experience for you and your baby.
Things To Keep In Mind While Changing A Diaper After Circumcision
After a circumcision procedure, it’s important to take extra care when changing your baby’s diaper. Use a soft damp cloth and warm water to clean the circumcision site. Use unscented soap formulated for sensitive skin to avoid any irritation.
Consider double diapering for extra padding and place an ice pack between the two diaper layers for the first couple of days to minimize swelling and discomfort.
Remember to change the gauze dressing with each diaper change and clean the penis with warm water before applying a new piece of gauze with pure petroleum jelly. By following these simple steps, you can ensure your baby is kept clean and comfortable during recovery.
Conclusion
Changing a diaper after circumcision can be an overwhelming task for some parents. However, you can help your baby heal quickly and comfortably with a few essential steps and precautions. Remember that it is vital to keep the area clean and dry to prevent infection.
Be gentle during the cleaning process, and avoid using any scented products. Always make sure the diaper fits snugly but isn’t too tight. Keep an eye out for any signs of discomfort or infection, and don’t hesitate to contact your healthcare provider for guidance or assistance.
With extra care and attention, you can help your baby through this healing process and ensure their comfort and well-being. When changing a cloth diaper after circumcision, it’s important to be gentle and avoid rubbing the area.
We have provided detailed instructions on changing a baby’s diaper after circumcision. Following these simple steps can make the transition from newborn to toddlerhood as smooth as possible.
Frequently Asked Questions
[rank_math_rich_snippet id=”s-f9d48fb6-cd7a-4d14-bcaf-f59ad95c2ef5″]